
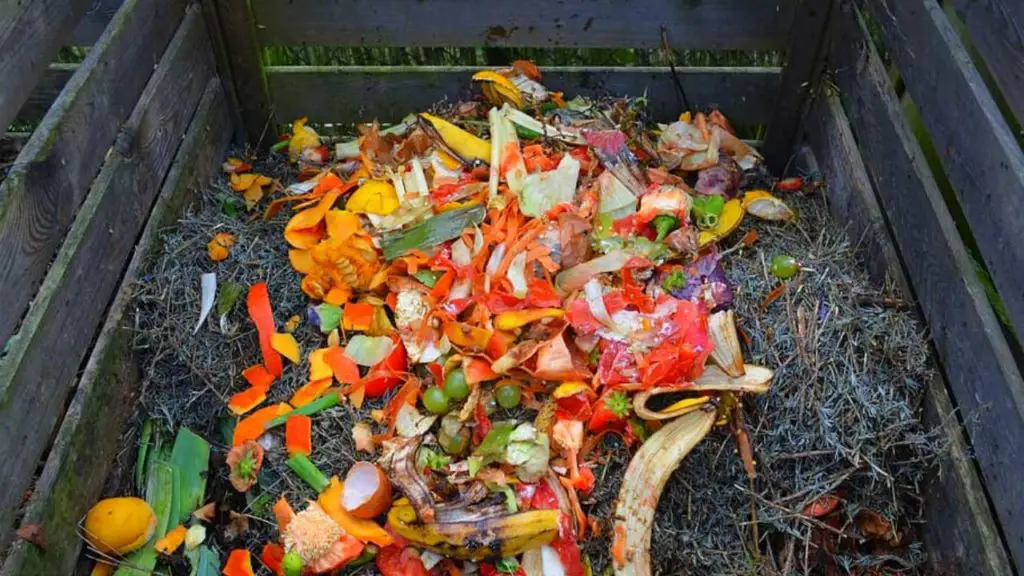
Almost all of our kitchen waste like food waste and garden waste like clippings of grass go in the trash can. Going in the trash can or garbage disposal is no good for us.
We can use these wastes and turn them into our own free and 100% organic fertilizer (compost). Converting waste into compost is a very easy, effective and environmentally friendly process.
We all know the benefits of good compost for our garden. Compost is so important to grow veggies in the garden. We also use compost to make our DIY potting soil, which is great to grow plants in the pots.
Watch Full Video: (turn the captions on)
Also Read: How To Make Potting Soil At Home For Container Gardening
In so many of my articles, I use to keep on telling you to add compost in your soil. And you know what, you will be able to make your own compost after reading this article.
Requirements:
There are various types of kitchen waste composting setups are available in the market. But in this post, we will use a very basic and cheap setup, for which you don’t have to buy anything from the market.
You will need a big terracotta pot. You can use a plastic bucket to make compost, but there will be a lot of chances of producing a bad smell and improper composting.
A pot of minimum 10 inches in depth and 12 inches in diameter will do the trick. But you can use a bigger pot, which totally depends on your needs.
Also Read: Top 10 Summer Veggies To Grow In A Raised Bed
Easy Steps To Make Compost:
Here are a few very easy to follow steps to make your own organic fertilizer at home.
1: Check Drainage Hole.
Before starting filling the pot with anything, check the drainage hole in your container. If the hole is little, make it a little bigger, so the extra moisture can drain away or it will produce more smell.
2: Put Pebbles.
Put some pebbles at the drainage hole, to avoid the blocking. The first layer should be the layer of pebbles.
3: Add Soil.
After putting some pebbles at the bottom, add a layer of your garden soil or compost (if you have). The thickness of this layer should be 1 inch.
This layer adds beneficial composting microorganisms. These microorganisms will leads to a faster rate of decomposition.
4: Dry Layer.
After adding a layer of soil or compost, now it’s time to add an extra layer of dry things. For this layer, you can use newspaper OR dried leaves.
Dry leaves are a better option than newspapers. Just told to add a newspaper if dried leaves are not available.
This dry layer will provide a substratum for the growth of microorganisms and also keep the mix appropriately moist.
This will encourage the healthy growth of decomposing microorganisms by providing them a favorable environment.
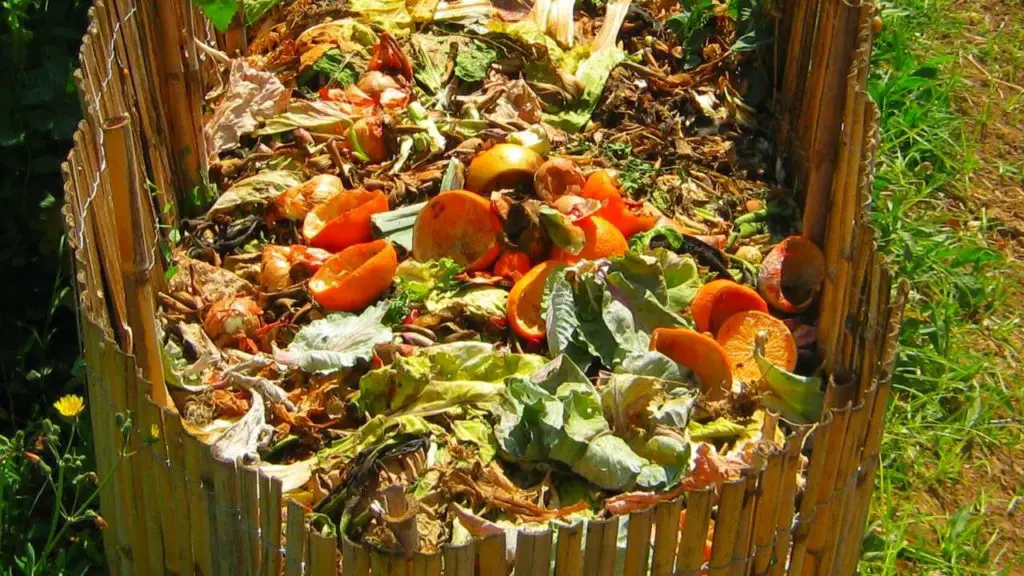
5: Wastes Layer.
4th layer will be the raw moist things like kitchen waste or garden clippings. For a good composting in the pot, you need to keep the height of dry and wet ingredients almost 2 to 3 cm each.
Repeat dry and wet layer for more 3 to 4 times each, alternatively.
6: Another Compost Layer.
After repeating layers, you need to do important work, for fast composting. You need to add a 3 to 4 cm layer of compost or partially decomposed compost.
If you are composting for the first time, then you have to buy a ready-made compost bag from the market. And if you are already composting, then add a small portion from your previous composter.
7: Another Wet And Dry Layer.
After the addition of compost or partially decomposed compost layer, add 4 wets (kitchen waste or grass clippings) and 4 dries (dried leaves or newspaper) layers alternatively like earlier.
As the material below keeps on decomposing, the volume decreases, so you will keep on getting free space for more material.
If you have 2 people family, the pot of 10×12 inches will take one month to get full.
After adding 4 layers of dry and wet material, do not forget to add compost or partially decomposed compost layer for faster decomposition. It will also make the process smell free.
8: Placement.
Keep your composter covered and place at any place of your garden. Whenever you want to add material, just take off the lid and add that.
Do not add water and use a terracotta lid to cover it.
9: Full Composting Unit.
When your Composting unit is full, add the last layer of raw wet material. Keep on pressing the layers to make more space for new layers.
In the season of more vegetables, the pot will get full in no time. After the addition of the last wet layer, add a little bit of water and layer of compost at the end.
This compost layer is very important, as it will provide microorganisms to start the decomposition as soon as possible.
10: Last Step.
After the last layer of compost, put some kind of small tray on it, (terracotta tray would be great) and put a small pot on the tray.
This is good because whenever you will add water in a pot, excess water will drain out and make layers in your decomposing unit moist.
Do not overwater your unit.
Also Read: 15 Indoor Herb Container Garden Ideas
Things Not To Add In The Pot
Here are a few things you should not add in your container.
- Cooked items.
- Non-vegetarian items like meat.
- Pet excreta, nails, etc.
- Sugar.
- Bakery products like cake, pastry, and bread.
These all items contain different types of microorganisms like yeast, which can hinder the growth of favorable microorganisms in the composter.
Time Period Of Composting.
Your own organic compost will be ready in 30 days in the rainy summer season. And it will take 45 to 50 days in the winter season.
In the rainy season, you should keep an eye on the level of water. Extra water can destroy everything.
Use it or Store it.
When your compost is fully ready, use it immediately or dry your compost for a complete day and then store it in a sealed plastic bag.
Also Read:
- 10 Best DIY & Cheap Container Vegetable Gardening Ideas Anyone Can Use
- Best Vegetables To Grow Indoors Under Lights
- Best Raised Bed Gardening Soil Mix Recipe
Recent Posts
My Eggplants Were Covered in Weeds and Pests—These Simple Steps Brought Them Back to Life
Heavy rain can be a blessing for a vegetable garden, but it can also create new challenges. Eggplants respond well to moisture, yet the same conditions that encourage healthy growth also promote...
Summer is one of the toughest seasons for any garden. A few days of intense sunshine can dry out the soil, wilt healthy plants, and reduce the harvest from vegetable beds. Heat waves make the...